Wellcome Collection
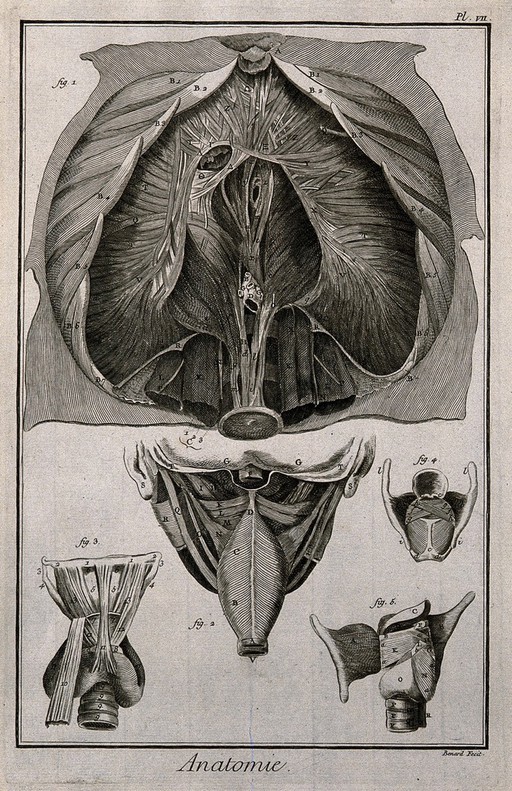
The diaphragm (fig. 1) after Haller, the pharynx, seen from the back and the larynx seen from the front (figs 2-3), after Duverney, and the larynx seen from the back and open and from the side (figs 4-5), after Eustachius. Engraving by Benard, late 18th century.
Jacques-Fabien Gautier d'Agoty
Lettering: Anatomie. ; Benard fecit.
🔒
Order museum-quality prints
Sign in to order prints, canvas, and more of this work. Browsing and full-resolution downloads stay free.


![Jean de Gorris [Gorraeus]. Woodcut.](https://api.europeana.eu/thumbnail/v2/url.json?uri=https%3A%2F%2Fiiif.wellcomecollection.org%2Fimage%2FV0002332.jpg%2Ffull%2F500%2C%2F0%2Fdefault.jpg&type=IMAGE)
